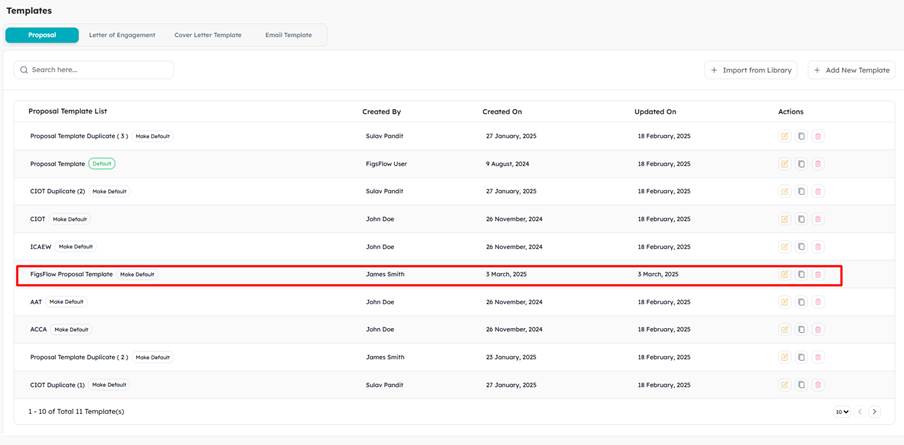
Under the Template module, click ‘Proposal’ tab and click on ‘Add New Template’ button for a new pop-up to appear.

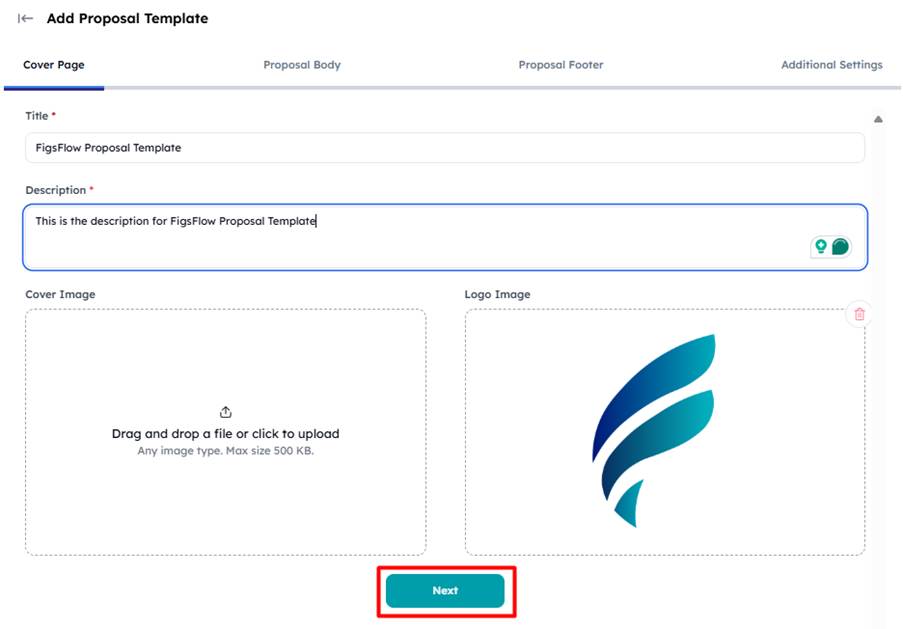
Go to the ‘Cover Page’ tab on a new pop-up and add the suitable Title and Description. Additionally, add the cover image and Logo. Then click ‘Next’ at the bottom.
Under ‘Proposal Body’ tab, add relevant textbox, image, testimonials that can be added to the proposal and click ‘Next’ at the bottom. The added sections can be dragged and dropped to maintain the hierarchy.
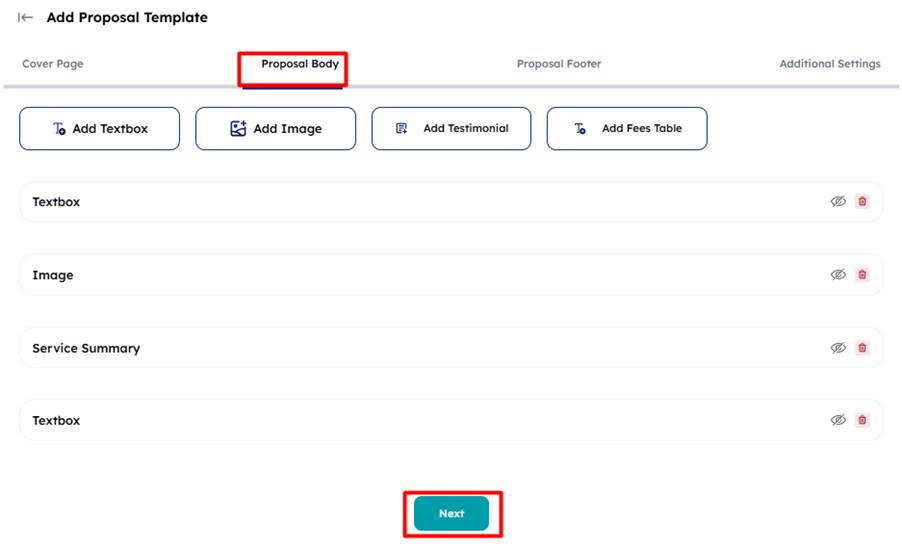
Click on ‘view’ icon to minimise or maximise the specific section.

To delete a specific section, click on the ‘bin’ icon.

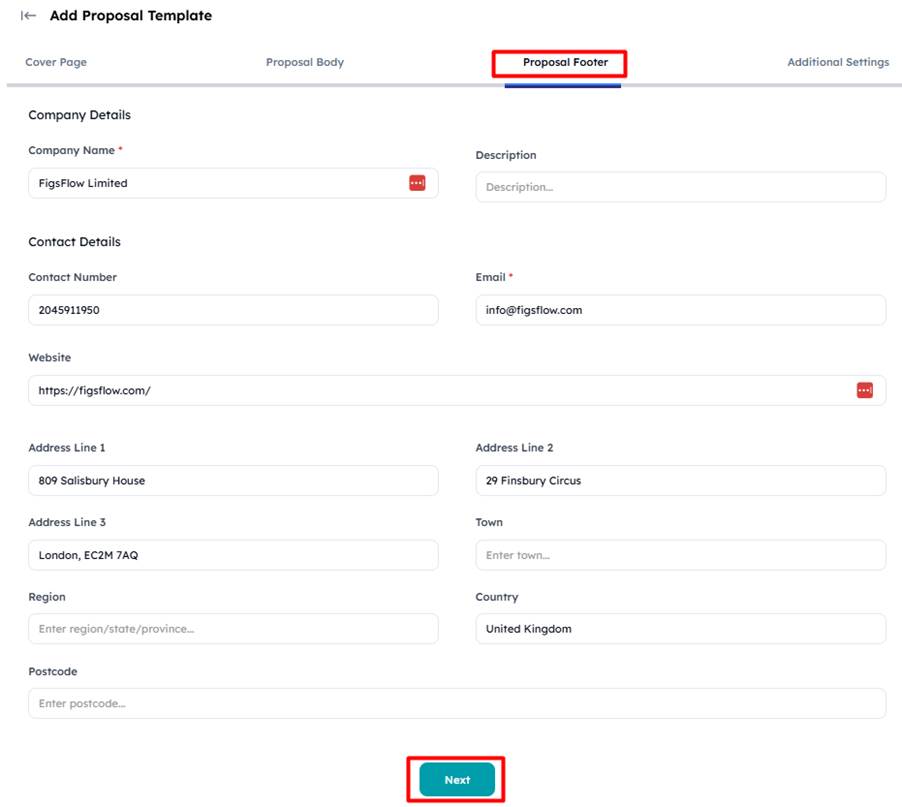
On the ‘Proposal Footer’ tab, add necessary details and click ‘Next’ at the bottom.
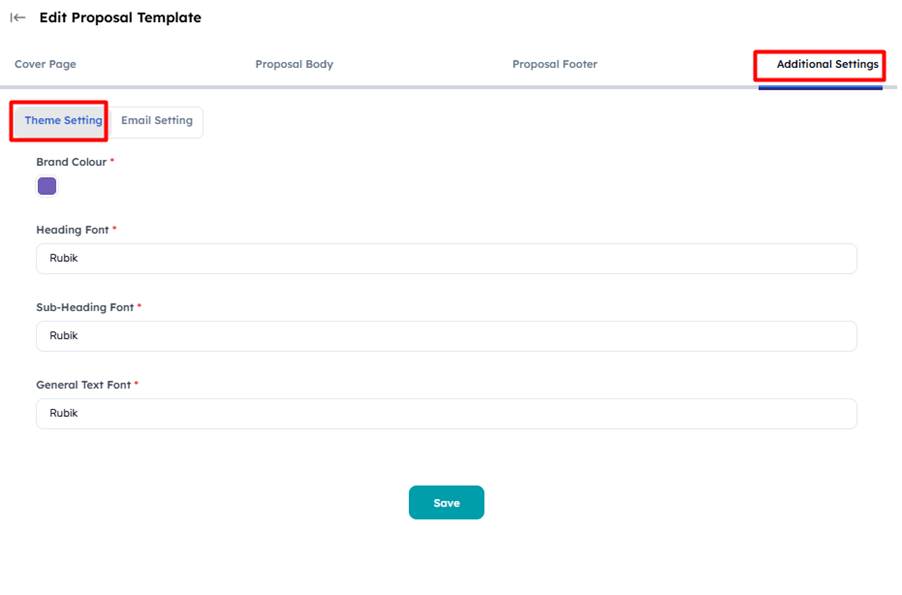
Under ‘Additional Settings’ tab, select the relevant brand colour and font type under ‘Theme Setting’.
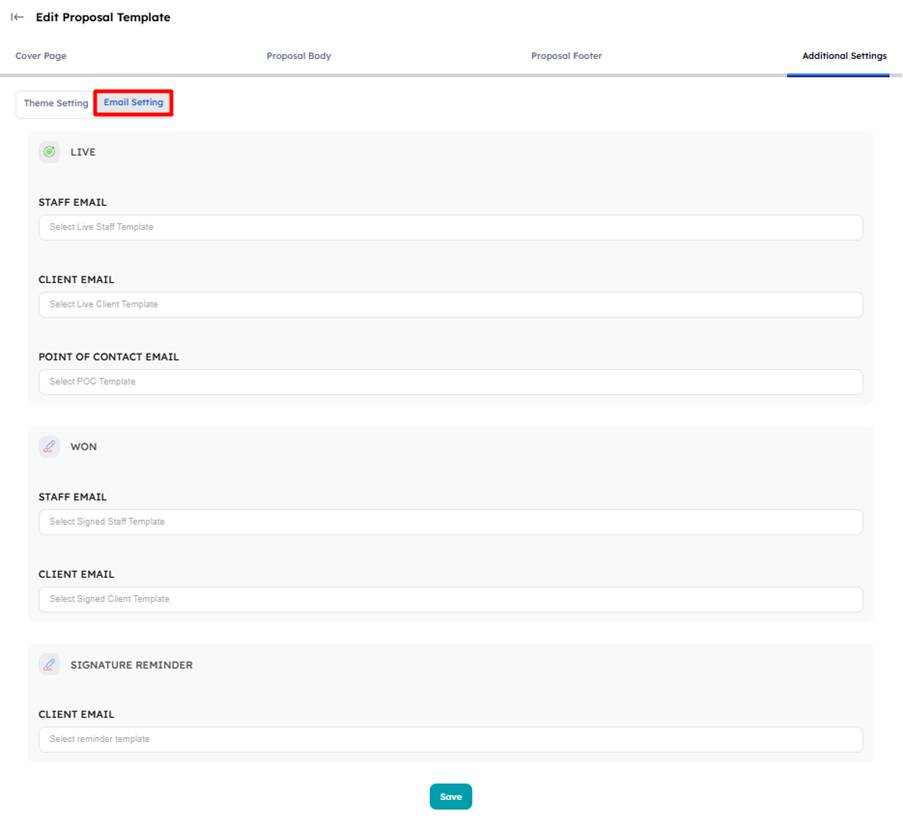
On the same tab, click on ‘Email Setting’ tab to configure the respective email to be sent to various parties based on the status of the proposal (i.e., Live, Won, Signature Reminder).
Please refer to the section – ‘Adding New Email Template’ within the knowledge base below to learn to create and add a new email template.
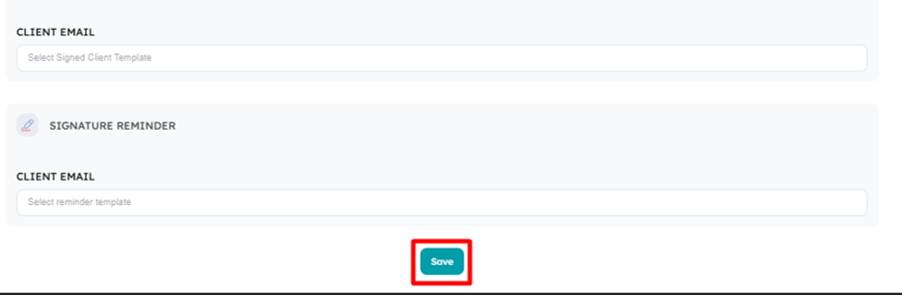
Once you have selected the email template, click on save at the bottom.
The template should be visible on the list of Proposal Template.